

So on Monday at too-late-at-night o'clock, I was like, "What am I going to blog about this week?" I chose our family's favorite chicken enchiladas, which were an excellent choice. Except that this Sunday is EASTER and I specifically made and photographed these rocking Sweet and Salty Bird's Nests with the full intention of posting them on Monday.

Which is why you should not do things at too-late-at-night o'clock after a day that is chock full of manual labor with your husband. Indeed, at too-late-at-night o'clock, you should not write things on the internet at all--that's just a good rule to live by. If you insist on doing random things at too-late-at-night o'clock, what you should do is head out and buy yourself some potato sticks (I'd never bought them before either) and then sit at your kitchen table and make these little lovelies. Don't eat them at too-late-at-night o'clock (you're sure to regret that on several levels). But make them, and then love them. They are super super delicious. And delightfully dumb easy.

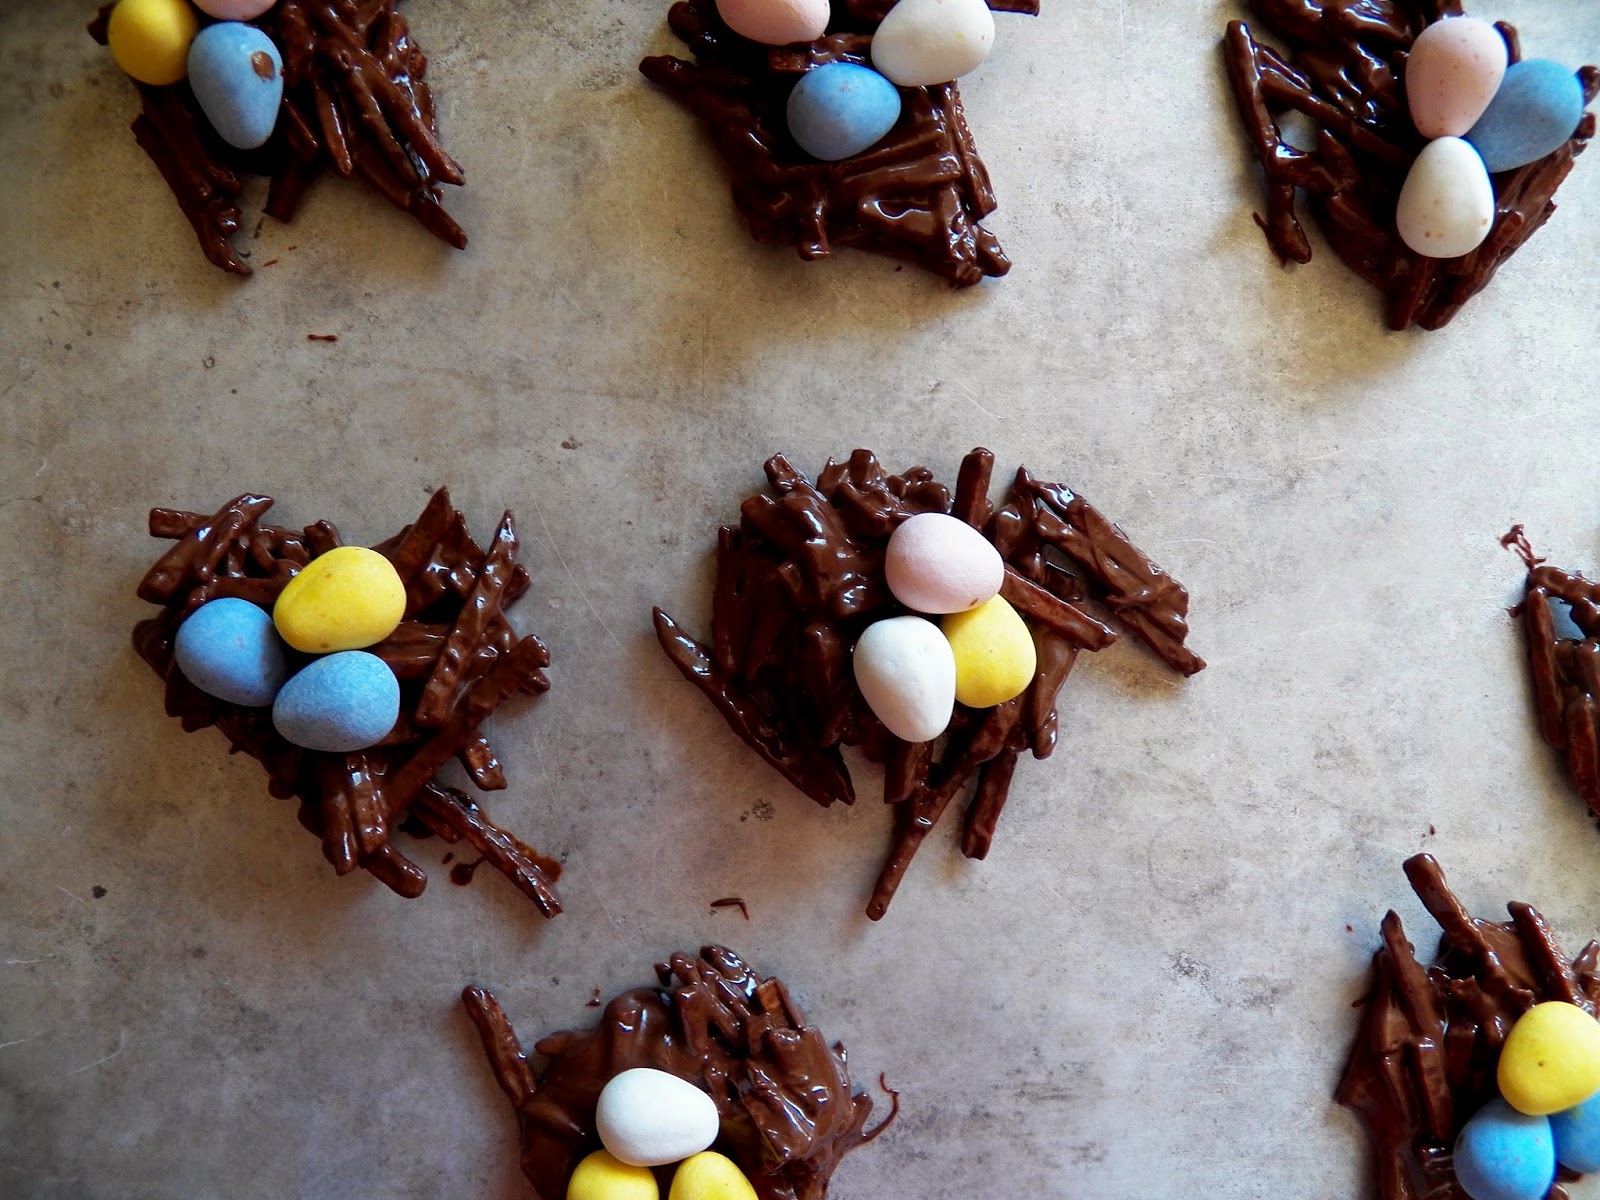
Chocolate Potato Chip Bird's Nests
makes about 20 nests
Prep time: 10 minutes
Set time: at least an hour
Cost: $3.75
butterscotch chips: .50, chocolate chips: 1.25, potato chips: 1.00, Cadbury eggs: 1.00
1/2 C butterscotch chips
1 1/2 C semi-sweet chocolate chips
2 1/2-3 C shoestring potato chips
Cadbury milk chocolate eggs for the eggs in the nest
Melt butterscotch and chocolate chips together. I do this in a glass bowl in the microwave, stirring every 30 seconds or so until they're melted. (Note: If you do it in a large glass bowl, you can just pour the shoestring potato chips in and stir.)
Add your shoestring potato chips and stir until they're all covered.
Plop spoonfuls of this onto wax paper in a nest-like fashion, which is--fortunately--chaotic enough for most of us to manage.
Now arrange your Cadbury milk chocolate eggs on these (or Robin's eggs or Hershey's eggs or whatever).
Allow to set. This will take at least an hour, and you should really give yourself two hours, especially if it's warm in your house.
PRINTABLE RECIPE


