Tuesday, July 31, 2012

How to Brown Butter


As promised...

Brown butter and I...we love each other. Essentially you are burning your butter (oh, just a bit), but it's so much easier and more forgiving than burning, say, sugar (think caramel). All it asks is that it not be blackened. I can (usually) manage that. And it adds a depth to your foods made with butter--it has more flavors than just creamy and rich. It has nutty and caramel-y and roast-y (and creamy and extra rich).

First off, you can brown your butter slow on low heat, or quick on high heat. Slow takes just forever and I don't usually do it. High inevitably leads to me getting distracted and burning the stuff. So I do it on medium. It takes 10-20 minutes. 

Here's how you do it:

1. Melt butter in a pan on medium heat. It will look like, ahem, melted butter--a light yellow color, creamy and fairly consistent throughout.


2. As it cooks, it will begin to separate. You'll have the oily part on the bottom and the lighter foamy looking part on the top (the solids).
(Different pan, I know, but this picture shows it a little better.)

3. Tilt the pan every few minutes. You don't have to hover over it, but do keep your eye on it.

4. Eventually it will start to darken a bit and you'll notice that it's smell is changing to a nuttier smell (whereas before it just smelled like melted butter).

5. It will start to bubble--just a gentle boil. Keep it gentle or you're likely to burn the stuff. Take it off the heat if it's starting to boil too much and wait for your burner to cool off a bit. Tilt your pan frequently or stir it gently with a wooden or metal spoon (plastic will melt unless it's made to be heated high like most silicone).


6. It will continue to darken. Some of the solids may sink to the bottom and get a little darker than the oily part. That's okay. Just don't let them get black.


7. When you're done, it will be...wait for it... brown. Wow. What a revelation. It can range from a caramel-colored brown to a more copper or even chestnut brown.  Imagine that it's toast. Your toast can be a light color or a dark color. But most of us don't like it black or that really really dark brown that looks almost like black until it catches the light. (Should I be embarrassed that I'm giving this much thought to butter?) The darker it is, the more flavorful it will be, but there's always a small risk when you push the envelope. There's less risk with butter than with sugar, but you still don't want it burned. Here's a lighter and darker version:


8. Once it's ready, pour it into a dish (one that can withstand really hot things because this is really hot). This will keep it from continuing to cook in the pan.

Now it's ready for cookies or icing or fish or puddings or any other delights you can dream up.

PRINTABLE INSTRUCTIONS

Saturday, July 28, 2012

Four Ways to Preserve Tomatoes


It's tomato time.

I get enough tomatoes from my garden to eat and sometimes even to roast, but today I went to my friend's super-duper-survive-Armageddon garden and picked many many pounds of gorgeous (how are they possibly that pretty?) tomatoes. And, you know, I like tomato sandwiches and all, but still...

Basically, there are 4 ways to preserve tomatoes. None are too crazy hard and some are downright easy. Here they are in order of laziness.

1. Roast. I love this method. It is super flavorful. It requires no special equipment. The end product tastes like Eden itself. And it's very versatile. You can just eat the roasted tomatoes, or add them to pasta or rice (or add them to a burger sometime; you'll be the burger gourmet among all your friends). Or use them for the base of a soup or sauce. You can puree them (which is my family's thing--the kids and Kip don't do "chunkies" alas) and use them to make incredible tomato soup or tomato sauce. You can also add onions, garlic, or whatever the heck you want when roasting. Once you've got your tomatoes or puree, you're going to put it in jars or Tupperware and freeze it. Often I use old yogurt containers for this purpose (just remember to label them, eh). I like a slow roast at 350-375. It'll take a couple of hours for a full pan and less time if you're pan isn't packed. 

2. Dry. This is easiest if you have a dehydrator. It's also easiest with Roma tomatoes or some sort of small variety, like Sweet 100's. You cut and seed your tomatoes, add some salt, and dry away. However, this is also a really good method for oven drying. They don't come out quite as dried, but are wicked good. Also, I tend to freeze my dried tomatoes. I'm always paranoid that I didn't get them quite dry enough and that I'll find them moldy halfway through winter. They don't take much space so I throw them in a Ziploc bag and put them in the freezer.

3. Freeze. With this method you're going to pretend you're canning your tomatoes. You'll boil them for about 30 seconds, then plunge them into ice water to get the skins off. You'll mash or cut them. You can salt them if you wish. But then, instead of putting them in jars to process them, you'll put them in Ziploc bags or plastic containers and freeze them. It's a little easier and less kitchen-steaming than canning. Also, you don't need as much specialized equipment as you do with canning.

4. Can. Canning has a bad reputation for being a pain in the bruhahee. And it is a couple hours of juicy work. However, it's really not that bad. Especially if you're just canning a few jars for winter delight and not canning so that you can survive the winter. I usually just do a batch or two--a batch being the 5 or 6 jars that my big pot can hold. Which brings me to another topic. Canning does require a bit of knowledge and some equipment. You'll need a big old pot and something with which to pull the jars out. You'll need Mason jars, fresh lids with seals and the screwy lid things. Also, you're going to steam up your house a bit. Is it worth it? Yes. I hadn't had home canned tomatoes for years. And then, 2 years ago, we canned some at a friend's house. Oh my. They were so so much better than store bought diced that I really couldn't believe it. Here's a good site on canning (although I also add 1 tsp salt to my quart jars for flavor, and I don't wait for my tomatoes to cool off--I plunge them into ice water).

Thursday, July 26, 2012

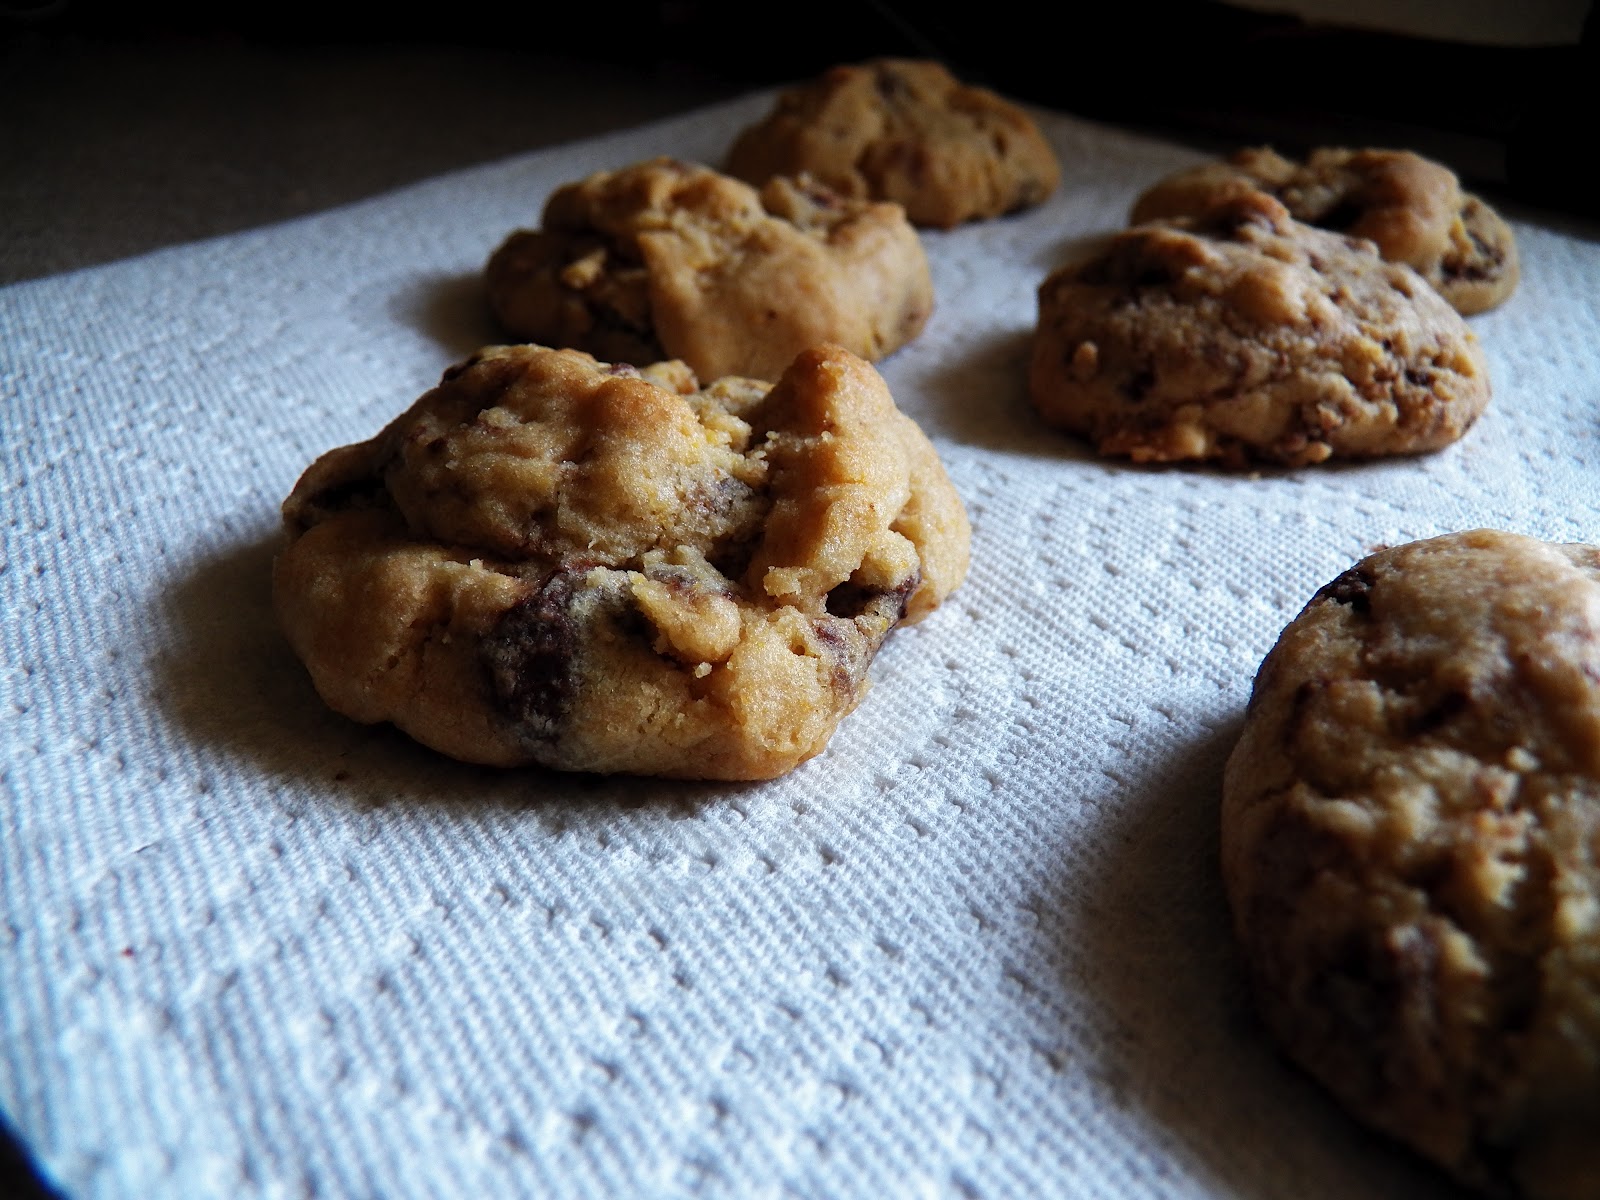
Browned Butter Chocolate Chip Cookies


Hello blog! I've been on vacation. And then I've been living in the fog that is post vacation. Sadly it wasn't until I had to sweep my floor yesterday (after, shocker, just one meal) that I realized that I hadn't swept a floor all week. And I'm pretty sure that my kids were still dropping things on other people's floors, so I'd just like to thank all my family members for making my vacation so princessy. And to my brother Jake for introducing me to waffle cakes. And to my sister-in-law Shelle for some of the best ice cream ever. And to whoever made the mac and cheese that both Mark and I loved (a miracle I never thought I'd see). And to everyone else who made awesome food the whole time so that I never had to. I can't actually remember the last time I went for a week without once lifting my finger to cook something. And, while I love to cook, it was a really special treat.

Unfortunately, I never got a picture of any of the delicious foods I ate. I even thought about it, but was too lazy to pose the food and photograph the food. That's right. I just ate it. I know--the nerve. So one of these days I'm going to have to recreate those foods and share them with you.

For now, I give you a cookie. If you follow this blog you know that I have a sordid past with my chocolate chip cookies. I just can't seem to be loyal to just one. I'm kind of like a movie star in that way. The good part about that is that you don't have to issue public apologies when you cheat on your cookies. And they don't ruin your political careers. Today I present to you my latest fling. It's a lot like this little gem, only before you cook it you brown the butter. Browned butter is something, for the record, that I'm extremely loyal too. Through it, these cookies acquire an amazing caramel-y taste that I haven't been able to capture in my other chocolate chip cookies.

I've made this several times now and I can tell you a few things. You don't want the butter crazy hot or your chocolate chips will melt. But you don't want the butter to cool off completely either, or you'll wind up--for whatever scientific reason--with a less chewy cookie. Also, these are good if baked right off the bat, but if you can let the batter rest in the refrigerator for a day and then roll them into balls and cook them, you will have something darn near worth marrying. If, you know, you do that with your cookies. If you're a cookie floozy like me, then you'll probably just move in together for a while until something comes along with cinnamon or cardamom that you just have to try. But then, if that doesn't work out, you can always just return to this cookie. Which is why it's so much better to cheat on cookies than people. Amen.

Browned Butter Chocolate Chip Cookies
adapted from The New Best Recipe Cookbook
makes about 18 cookies
Prep time: 30-40 minutes (including the browning of the butter)
Cook time: 12 minutes
Cost: $2.80
butter: .90, chocolate chips: 1.00, brown sugar: .35, white sugar: .15, eggs: .20, flour: .20

Note: This worked best when using very large eggs. If you don't have an extra large egg, you could substitute 2 eggs instead of the egg and yolk. It's not quite as perfectly rich, but still crazy good.

12 Tbsp (1 1/2 sticks) unsalted butter, browned and still warm (see instructions on browning below)
1 C brown sugar
1/2 C white sugar
1 extra large egg
1 egg yolk
2 tsp vanilla
2 C plus 2 Tbsp all purpose flour
1/2 tsp baking soda
1/2 tsp salt
1 C chocolate chips

Brown your butter. You can do this slowly on low heat (which takes for-e-ver) or quickly on medium high (which risks burning the butter, but is quick). I usually compromise and do mine on medium heat. It takes 10-20 minutes and you've got to watch it at the end. I'll do a full tutorial on this later. Here's a brief one.
1. Melt butter in a pan on medium heat. It will look like melted butter--a light yellow color.
2. As it cooks, it will begin to separate. You'll have the darker oily part on the bottom and the lighter foamy looking part on the top (the solids).
3. Tilt the pan every few minutes and keep your eye on it.
4. Eventually it will start to sort of gently bubble (if it's not gentle, take it off the heat or it will likely burn). This is where you need to watch it a little more closely. Tilt the pan every minute or so, or stir it.
5. When it starts to brown, you'll notice a change in the smell. It will smell nuttier rather than butterier.
6. It will start to darken, especially the solids, which may have sunk to the bottom of the pan. Watch it and tilt or stir it.
7. It should smell like heaven and be a goldeny brown color. Don't let it get black or really dark brown.
8. When it's ready pour it into the bowl.
9. Let it cool for just a couple of minutes. You want it to remain warm.

Once your butter is ready, add the sugars and stir. They should melt a bit into your butter. Add the egg and egg yolk and stir. Add the vanilla.

Mix the dry ingredients together and add them to your butter/sugar/egg mixture. Mix with a spoon. It's going to look way different than most cookie batters, like this, so don't freak out, okay:


Add the chocolate chips.

If possible, let batter rest for a day. If not possible, I understand. (You can always compromise and make a batch now and let the rest of the batter rest and then make it the next day.)

Bake at 325 for 12-15 minutes. You don't want them gloppy, but you don't want them fully cooked either (oh, they'll still taste good fully cooked, but they're better if taken out when the center is just a bit underdone). The edges will be just golden and the center will not.

PRINTABLE RECIPE

LinkWithin

Related Posts Plugin for WordPress, Blogger...